Table of Contents
If you've been running a WordPress site for more than a few months, you know the struggle. You upload an image for a blog post, and then three months later, you need that same image for a landing page.
You go to your Media Library, and what do you see? An endless grid of thousands of images, organized only by month and year. Finding that one specific "hero-background-blue.jpg" becomes a ten-minute scrolling nightmare.
WordPress powers over 43% of the web, yet its native file management is surprisingly basic. It treats your media files like a shoebox full of receipts—everything is just thrown in together.
In this guide, I'm going to show you exactly how to fix this using WordPress media library folders. We'll cover why this matters for your site's SEO and how to implement a system that scales.
The Problem with the Default Media Library
By default, WordPress organizes your uploads into time-based folders on your server (e.g., /wp-content/uploads/2025/10/). While this is great for the file system, it's terrible for human workflow.
- No Context: A logo uploaded in 2023 lives in a 2023 folder, even if you're using it in 2025.
- Hard to Search: Unless you remember the exact file name, good luck finding it.
- Duplicate Files: Because users can't find existing images, they re-upload them. This bloats your site and hurts performance.
- No Categories: Product images, blog graphics, team photos, and legal documents all live in the same flat view.
- Collaboration Chaos: On multi-user sites, everyone uploads to the same pool with no organization standards.
The Scale Problem
The issues compound as your site grows:
- 100 images: Manageable. You can scroll and find things.
- 1,000 images: Annoying. Finding specific files takes minutes.
- 10,000+ images: Nightmare. Users give up searching and just re-upload.
If you're running an e-commerce site, a content-heavy blog, or a multi-author publication, you likely have thousands of media files. Organization isn't optional—it's essential.
Why You Need WordPress Media Folders
Adding a folder system to your WordPress backend isn't just about aesthetics; it's a productivity and performance hack that pays dividends every single day.
1. Improved Workflow Efficiency
Imagine having folders named "Blog," "Products," "Team," and "Logos." When you need a team member's headshot, you go to Team > Headshots. It takes seconds, not minutes.
This efficiency multiplies across your team. Content writers find blog images instantly. Designers access brand assets without asking. Shop managers locate product photos immediately.
2. Better SEO Management
When your media is organized, you're more likely to notice images missing Alt Text or files with poor naming conventions like IMG_8821.jpg. Organizing your files often leads to a comprehensive audit of your assets, allowing you to optimize them for search engines.
You can work through folders systematically: "Today I'll add alt text to everything in the Products folder." This structured approach is far more effective than trying to audit a flat list of thousands.
3. Reduced Disk Usage
By easily finding existing assets, your team stops uploading duplicates. This saves server space and keeps your backups smaller and faster.
We've seen sites reduce their media storage by 30-40% after implementing folders—simply because duplicates became obvious and could be deleted.
4. Team Collaboration
Folders create implicit standards. When everyone knows product images go in "Products > [Product Name]", new team members understand the system immediately. No training required.
5. Client Handoffs
If you're an agency, organized folders make client handoffs professional. Instead of leaving them with a chaotic media library, you deliver a clean, intuitive structure they can maintain.
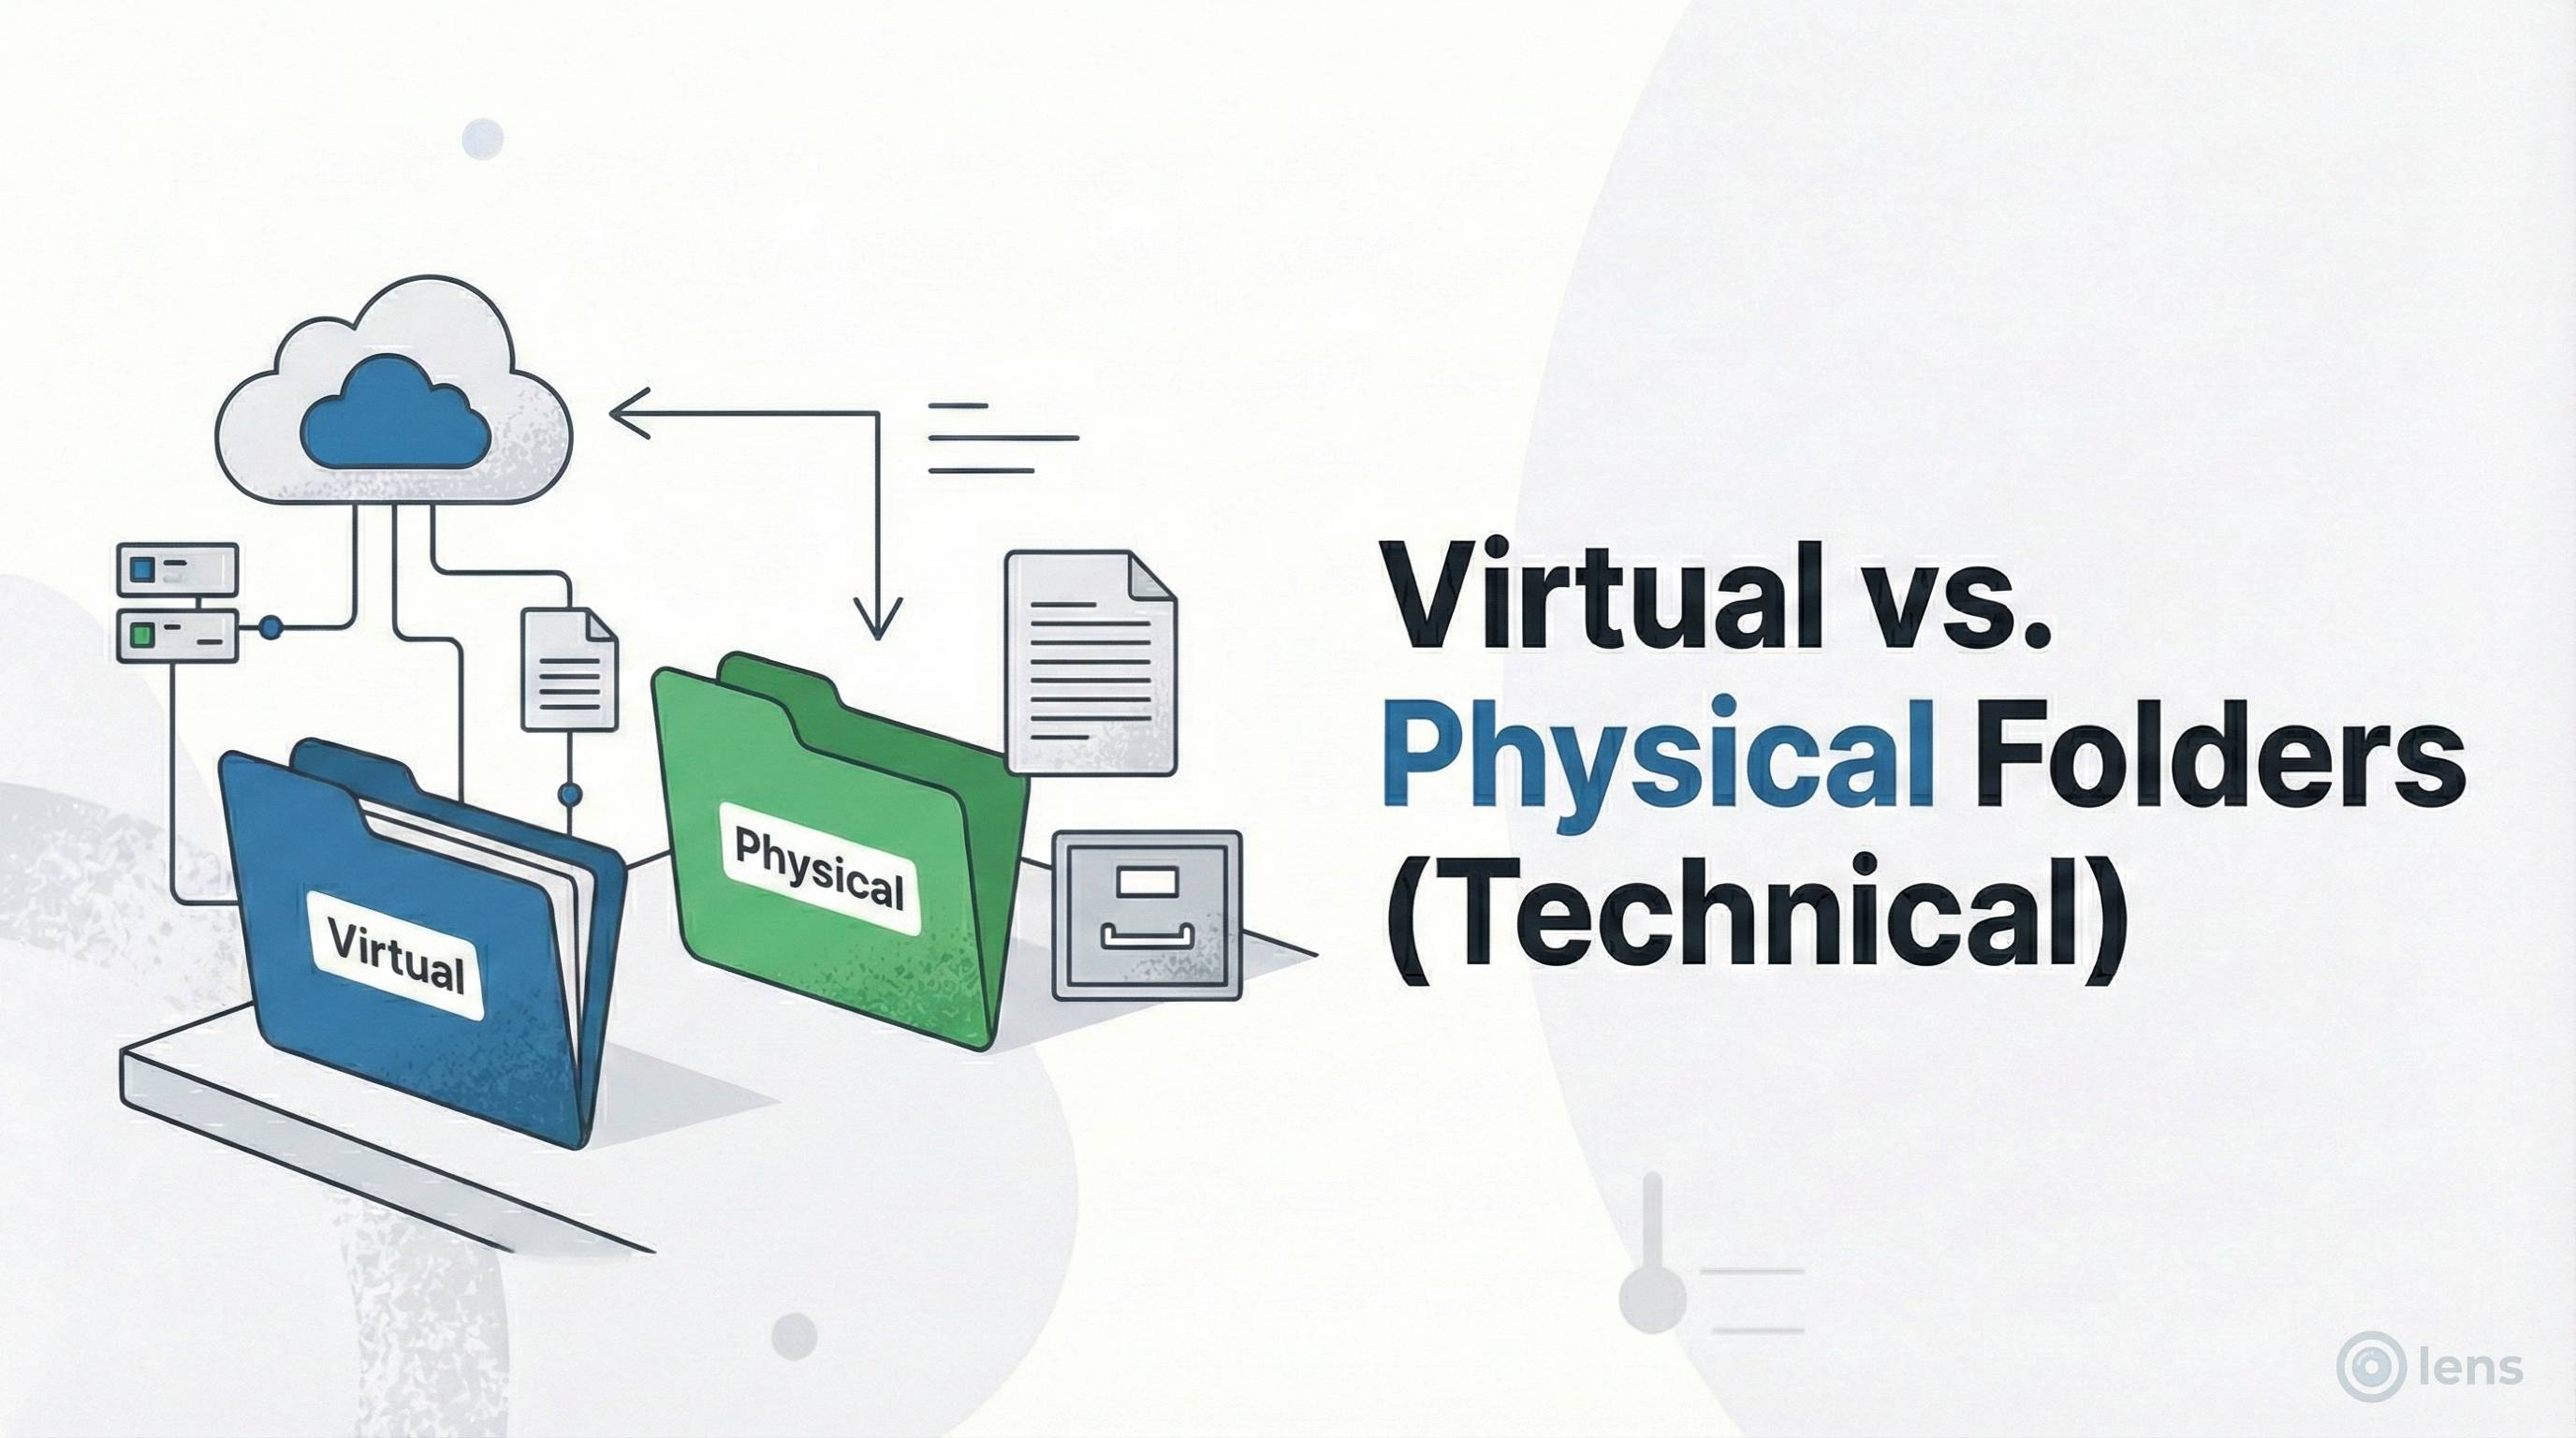
Virtual vs. Physical Folders: A Critical Distinction
Before you start installing plugins, you need to understand how they work. There are two types of folder plugins for WordPress:
- Physical Folder Plugins: These actually move your files on the server (e.g., changing the path from
/uploads/2025/10/image.jpgto/uploads/products/image.jpg).
Warning: This breaks all existing links to that image unless the plugin handles 301 redirects perfectly. It's risky. - Virtual Folder Plugins (Recommended): These create a "virtual" layer of organization in your dashboard. The file paths on the server stay the same, so no broken links on your live site. Lens uses this method because it is 100% safe.
Ready to organize your media?
Lens creates safe, virtual folders that help you drag-and-drop your chaos into order—without breaking a single link.
Get Started with LensChoosing the Right WordPress Folders Plugin
Not all plugins are created equal. When selecting a media folder plugin in 2025, look for these key features:
- Drag and Drop Interface: You should be able to move files just like you do on your computer.
- Bulk Selection: Organizing 5,000 images one by one is not an option. You need to select hundreds at once.
- Tree View: A sidebar that shows your nested folder structure is essential for quick navigation.
- Performance: The plugin should not slow down your admin dashboard, even with 50,000+ images.
Step-by-Step: Organizing Your Media with Lens
Here is the exact process we recommend for cleaning up a messy library. Whether you have 500 or 50,000 files, this approach works.
Step 1: Install and Activate Lens
Go to Plugins > Add New in your WordPress dashboard. Search for "Lens" and install the plugin. Once activated, navigate to your Media Library—you'll see a new folder sidebar on the left.
Step 2: Create Your High-Level Categories
Don't get too granular yet. Start with broad buckets that match how your team thinks about content. Common top-level folders include:
- Pages: Homepage heroes, About page photos, Contact page maps
- Blog: Featured images, in-post graphics, author avatars
- Products: Product photos, lifestyle shots, size guides
- Brand: Logos, icons, favicons, brand patterns
- Documents: PDFs, spreadsheets, downloadable resources
- Archive: Old campaigns, deprecated assets (for deletion review)
Right-click in the folder sidebar and select "New Folder" to create each one.
Step 3: Use the "Uncategorized" Filter
This is your starting point. Click the "Uncategorized" smart filter in the toolbar. This shows you everything that hasn't been filed yet—your backlog.
Don't be overwhelmed by the number. You'll work through it in batches.
Step 4: Bulk Move by Type
Start with the easiest categories. Use the search or type filter to find specific groups:
- Filter to show only PDFs → Select all → Drag to "Documents"
- Search "logo" → Select all → Drag to "Brand"
- Search "product" → Select all → Drag to "Products"
Don't worry about sub-folders yet. Just clear the main clutter first.
Step 5: Refine with Sub-Folders
Now go into each main folder and create a logical sub-structure:
- Products: Summer Collection, Winter Collection, Accessories, Size Guides
- Blog: 2023, 2024, 2025 (by year) or by category
- Brand: Logos, Icons, Patterns, Social Media
Move files from the parent folder into the appropriate sub-folders.
Step 6: Handle Edge Cases
Some files don't fit neatly. Create an "Other" or "Misc" folder for these—but keep it small. If it grows too large, that's a signal you need a new category.
Step 7: Verify Uncategorized is Empty
Go back to the Uncategorized filter. If files remain, either categorize them or delete them if they're unused. Your goal: zero uncategorized files.
Recommended Folder Structures by Site Type
Different sites need different organizational approaches. Here are proven structures:
E-Commerce Store
- Products
- Category A
- Category B
- Lifestyle Shots
- Marketing
- Banners
- Sale Graphics
- Email Headers
- Brand Assets
- Documents (Size guides, care instructions)
Blog / Publication
- Blog Posts
- Featured Images
- In-Post Graphics
- Author Avatars
- Categories (mirror your post categories)
- Stock Photos
- Site Assets
Agency / Portfolio
- Clients
- Client A
- Client B
- Portfolio
- Project 1
- Project 2
- Internal (templates, proposals)
- Team
Best Practices for Media Organization in 2025
To keep your library clean moving forward, adopt these habits:
1. Upload Directly to Folders
With Lens, you can navigate to a folder first, then drag your new file in. It gets auto-assigned to that folder immediately. Never upload to the root and "organize later"—later never comes.
2. Standardize File Naming
Rename files before uploading. Use this convention:
[category]-[description]-[variant].extension
Examples:
product-iphone-15-pro-black.jpgblog-seo-guide-header.pngteam-sarah-headshot.jpg
3. Add Alt Text Immediately
When you upload an image, immediately add descriptive alt text. It takes 10 seconds now but is easy to forget later. Make it part of your upload workflow.
4. Audit Quarterly
Once every three months, go through your folders and:
- Delete unused temporary files
- Move old campaign assets to Archive
- Clear the Archive folder of anything over 2 years old
- Check for duplicates
5. Document Your Structure
Create a simple guide explaining your folder structure to your team. "Products go here, blog images go there." This ensures consistency as your team grows.
6. Use Permissions for Sensitive Folders
If you have folders containing confidential documents (contracts, internal docs), use folder permissions to restrict access to administrators only.
Conclusion
Organizing your WordPress media library might seem like a daunting task, but with the right tools, it becomes manageable—even enjoyable. By implementing a folder structure today, you're saving your future self hundreds of hours of frustration.
Ready to stop the scrolling? Try Lens today and experience a media library that actually works for you.